
Uncategorized
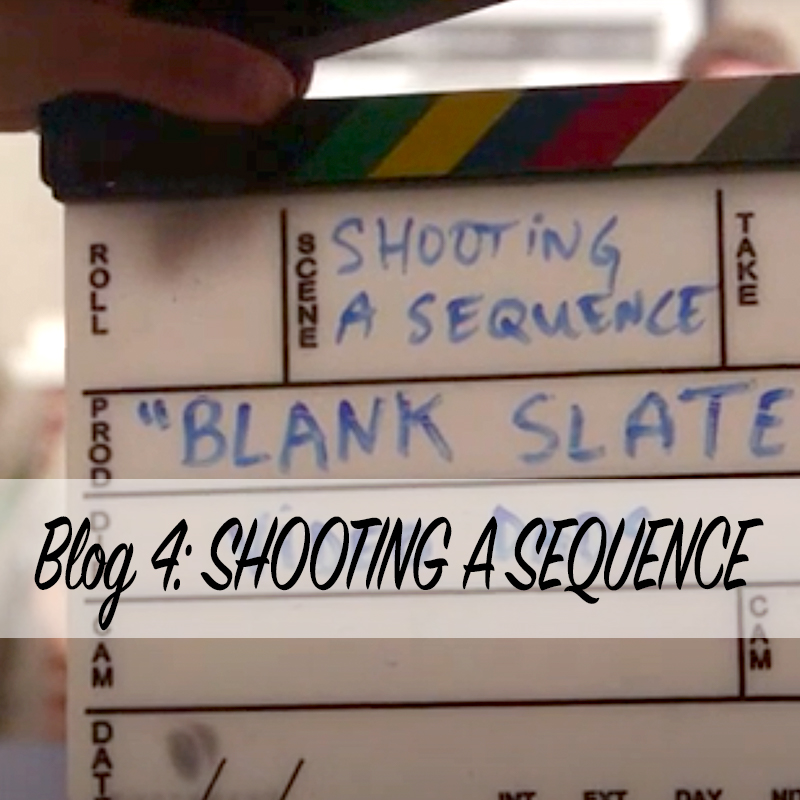
Video Learning Blog 4 – Shooting a Sequence
Aug
One of the projects I worked on with PBS over the years is a series of training videos for filmmakers that focuses on the fundamentals of how we produce documentaries, and other types of videos, at Video Dads.
I thought for our further discussion about how to shoot a “sequence” of shots to be edited together – as we touched on in the previous post on Shot Lists – it would be useful to share this episode of that series, “Blank Slate”. The text that follows the video is the script that Slavik and I are delivering in the video – in case you prefer to read it. I’m the tall one, by the way!
When we talk about run and gun shooting, we’re not just talking about shooting fast and wild. It’s one thing to point your camera at whatever is happening, recording it, and then moving on. It’s another mindset altogether to shoot for the edit.
This is especially important when you’re shooting people or action that is more mundane than fireworks and protest marches. Whether your subject is painting a picture, or making a cup of single origin coffee, here is a simple strategy for shooting a Broll sequence that will make your edit a lot easier.
In general, you want to go from wide to tight. So, start outside of the room if you can, and frame your subject in a way that we’re outside looking in. On a slider or tripod, find a blurry foreground like the door frame, and do a slow pan or slide in to reveal your subject. You can do this shot with the subject facing toward you, or to the side, or even shoot their back, wherever you can get an establishing shot.
Now you can ditch the tripod and grab your monopod. Let’s shoot our bread and butter shots first. Move relatively close to your subject, get in front of them so you can see their face, make sure your monopod and camera is set at their eye level if they’re sitting down… and record a wide shot, a medium shot, and isolated tight shots of their face and hands. Make sure to record each shot for at least 5 to 10 seconds.
It helps to count in your head, one one thousand, two one thousand, and so on, before moving to different shots. Once you get the primary shots, let’s go behind the subject and get an over the shoulder perspective. We can also shoot this angle in wide, medium, and super tight on the hands.
Now that we have our primary sequence of shots, we can look for cutaways, or inserts, which are extremely helpful for editing. In general, zoomed in tight shots are easier to include in your edit, or at the very least shots that can be placed anywhere on your timeline, regardless of when they were recorded, and still make sense in the edit.
Try to shoot basic objects and signs so that there’s space in front and behind them. That way you can frame a deep shot, ideally with related objects or action in the foreground or background. Even a blurry background with movement helps add interest to your static cutaways.